WordPress
Connect your WordPress site to ToSend using the free FluentSMTP plugin.
Installation
- Install FluentSMTP from the WordPress plugin directory
- Go to Settings → FluentSMTP in your WordPress admin
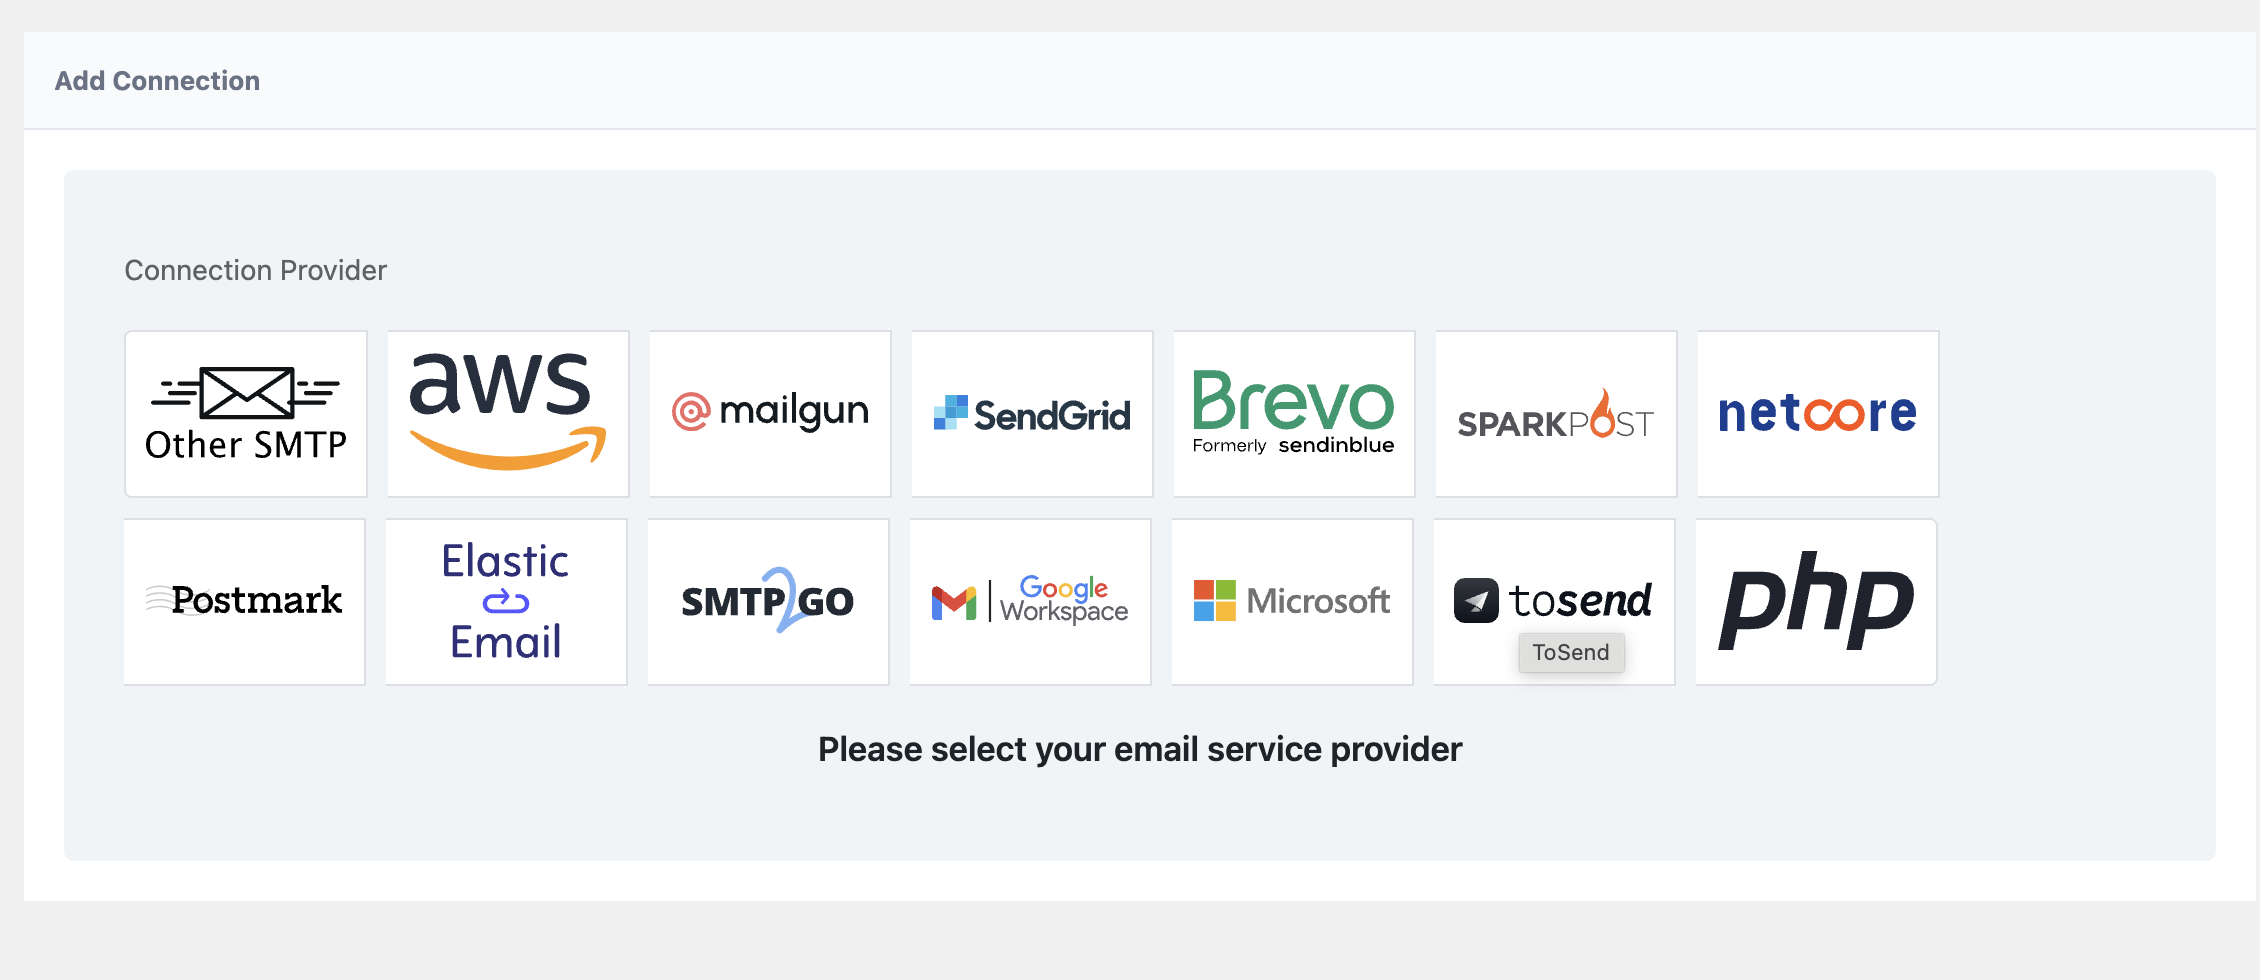
- Click Add Connection and select ToSend as your connection provider
Configuration
After selecting ToSend, configure your connection settings:
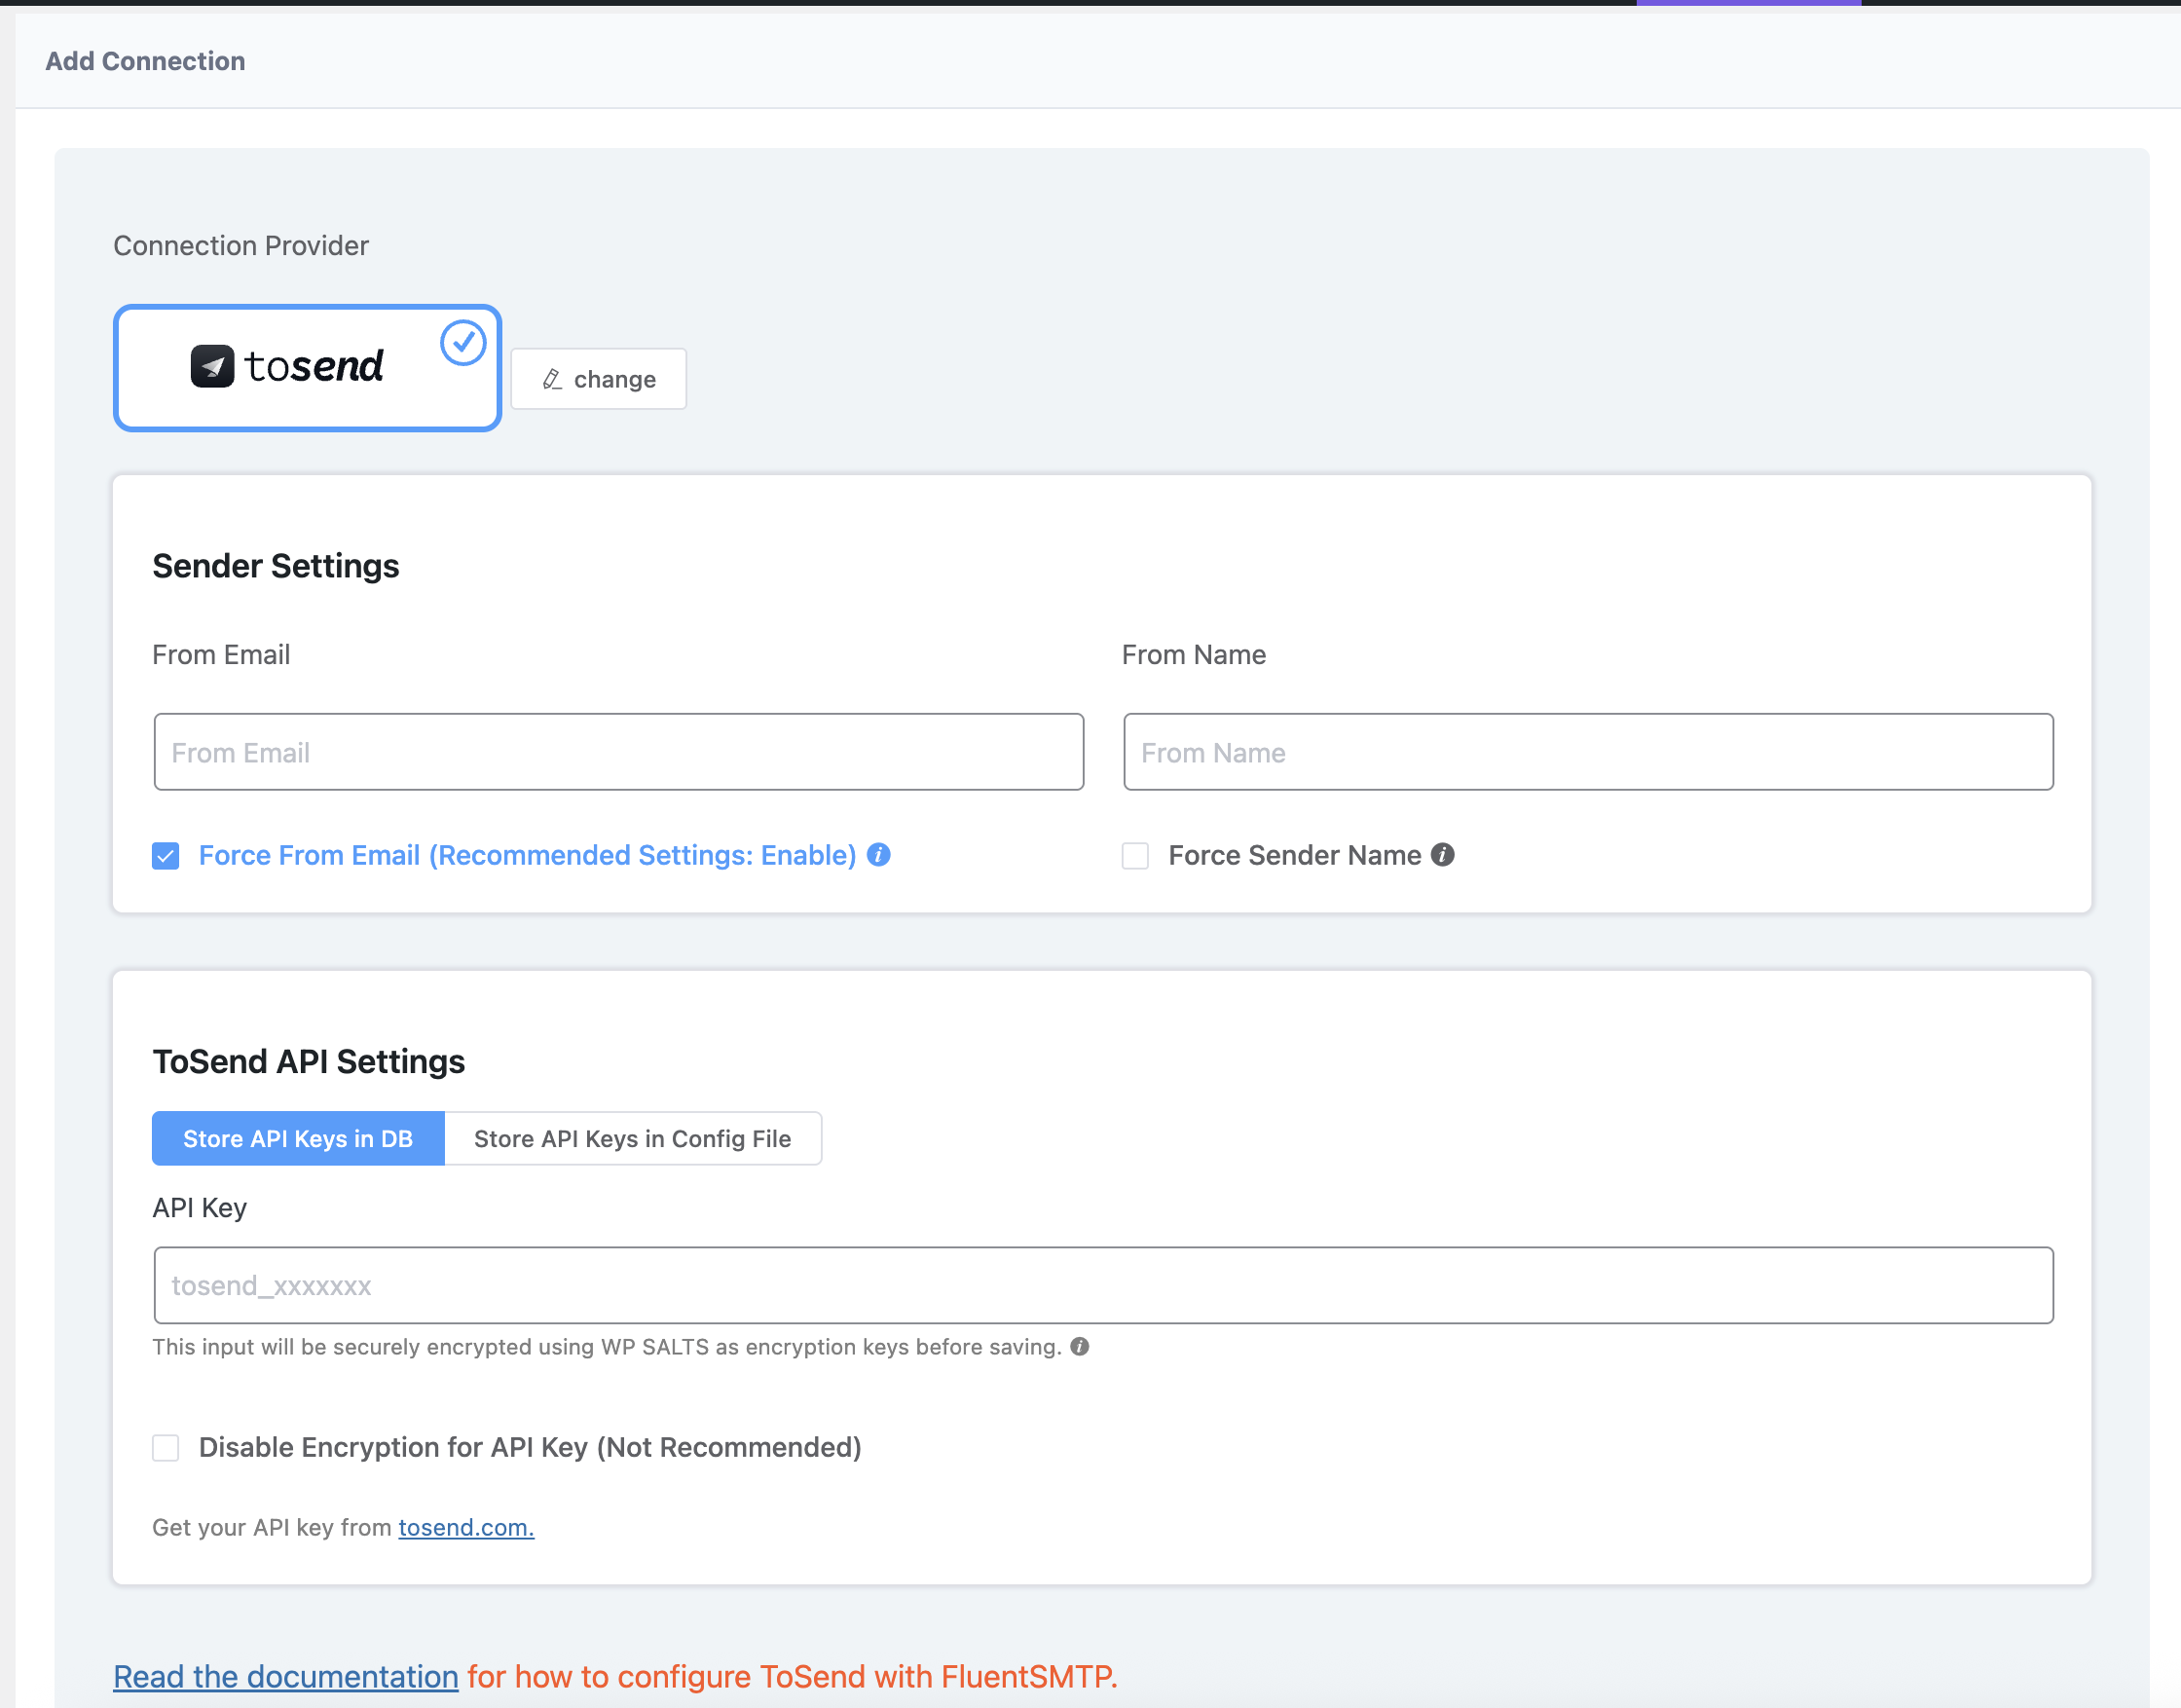
Sender Settings
| Field | Description |
|---|---|
| From Email | Your sender email address (must use a verified domain) |
| From Name | The name that appears as the sender |
| Force From Email | Always use this email as the sender (recommended) |
ToSend API Settings
- Get your API key from your ToSend dashboard
- Paste the API key in the API Key field
- Click Save Connection Settings
Secure Storage
Your API key is securely encrypted using WordPress SALTS before saving to the database. You can also store the key in your wp-config.php file by selecting "Store API Keys in Config File".
Testing
After saving your settings:
- Go to the Email Test tab in FluentSMTP
- Enter a recipient email address
- Click Send Test Email
- Check your inbox to confirm delivery
Features
FluentSMTP with ToSend provides:
- Email Logging: View all sent emails in your WordPress admin
- Delivery Reports: Track successful deliveries and failures
- Fallback Connection: Configure a backup email provider
- Multiple Connections: Use different providers for different purposes
Requirements
- WordPress 5.0 or higher
- PHP 7.4 or higher
- A verified domain in your ToSend account